EWI Installation Process: A 6-Step Guide

External Wall Insulation (EWI) is a transformative solution that can significantly improve a building’s energy efficiency and aesthetic appeal. Whether you’re planning a renovation project or simply want to learn more about external wall insulation, this guide will walk you through each crucial stage – from initial surface preparation to the final decorative finish. Let’s go through the process, so you know what to expect when you choose EWI for your home.
| Key Takeaways |
|---|
|
1. Understanding External Wall Insulation
EWI is like wrapping your house in a cosy blanket. It’s a layer of insulation that goes on the outside of your walls, covered with a protective and decorative finish. This helps keep the heat in during winter and out during summer.

EWI is great for homes with solid walls, especially older ones built before 1930. It can really help cut down on your energy bills and make your home feel much more comfortable. The insulation layer is usually between 50mm to 150mm thick, depending on what your house needs.
One good thing about EWI is that it can be installed without messing up your daily life too much, as most of the work is done from the outside.
2. Getting Ready for Installation
Before we start putting up the insulation, we need to make sure your walls are ready. This might involve:
EWI Preparation Steps
- Cleaning the walls
- Fixing any cracks or damage
- Removing things like drain pipes or satellite dishes
- Checking for and fixing any damp problems
We’ll also need to decide on the best type of insulation for your home. There are a few options, like expanded polystyrene (EPS) or mineral wool. We’ll help you choose the one that’s just right for your house.
The choice of insulation material depends on things like how much insulation you need, fire safety, and your budget. For example, EPS is light and costs less, while mineral wool is really good at stopping fires and blocking noise.
3. Putting Up the Insulation
Now comes the exciting part – actually putting the insulation on your walls! Here’s how we do it:

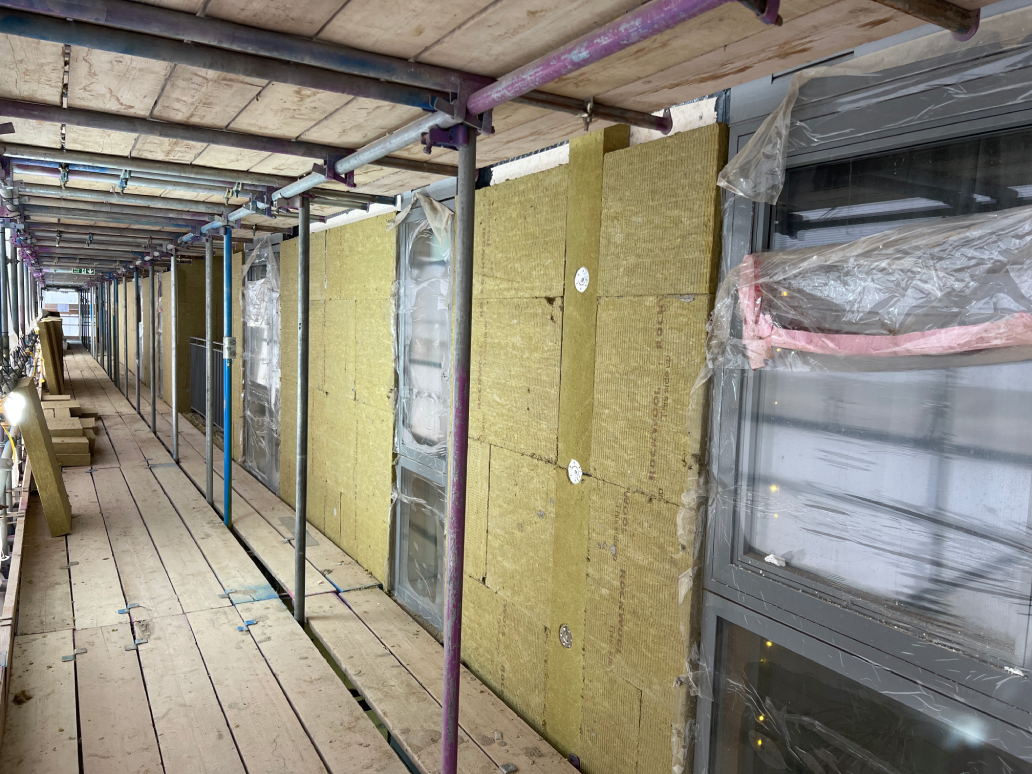
First, we put up something called a starter track. This is like a shelf that goes at the bottom of your wall to hold the insulation boards in place. Then, we stick the insulation boards to your wall with special glue and fix them in place with long screws.
We make sure to cut the boards to fit perfectly around your windows and doors. We also put extra insulation in these areas to stop any heat escaping. This careful work is really important to make sure the EWI works as well as possible.
We put the insulation boards up in a pattern like bricks, which makes the whole thing stronger and better at keeping the heat in.
4. Adding Strength and Protection
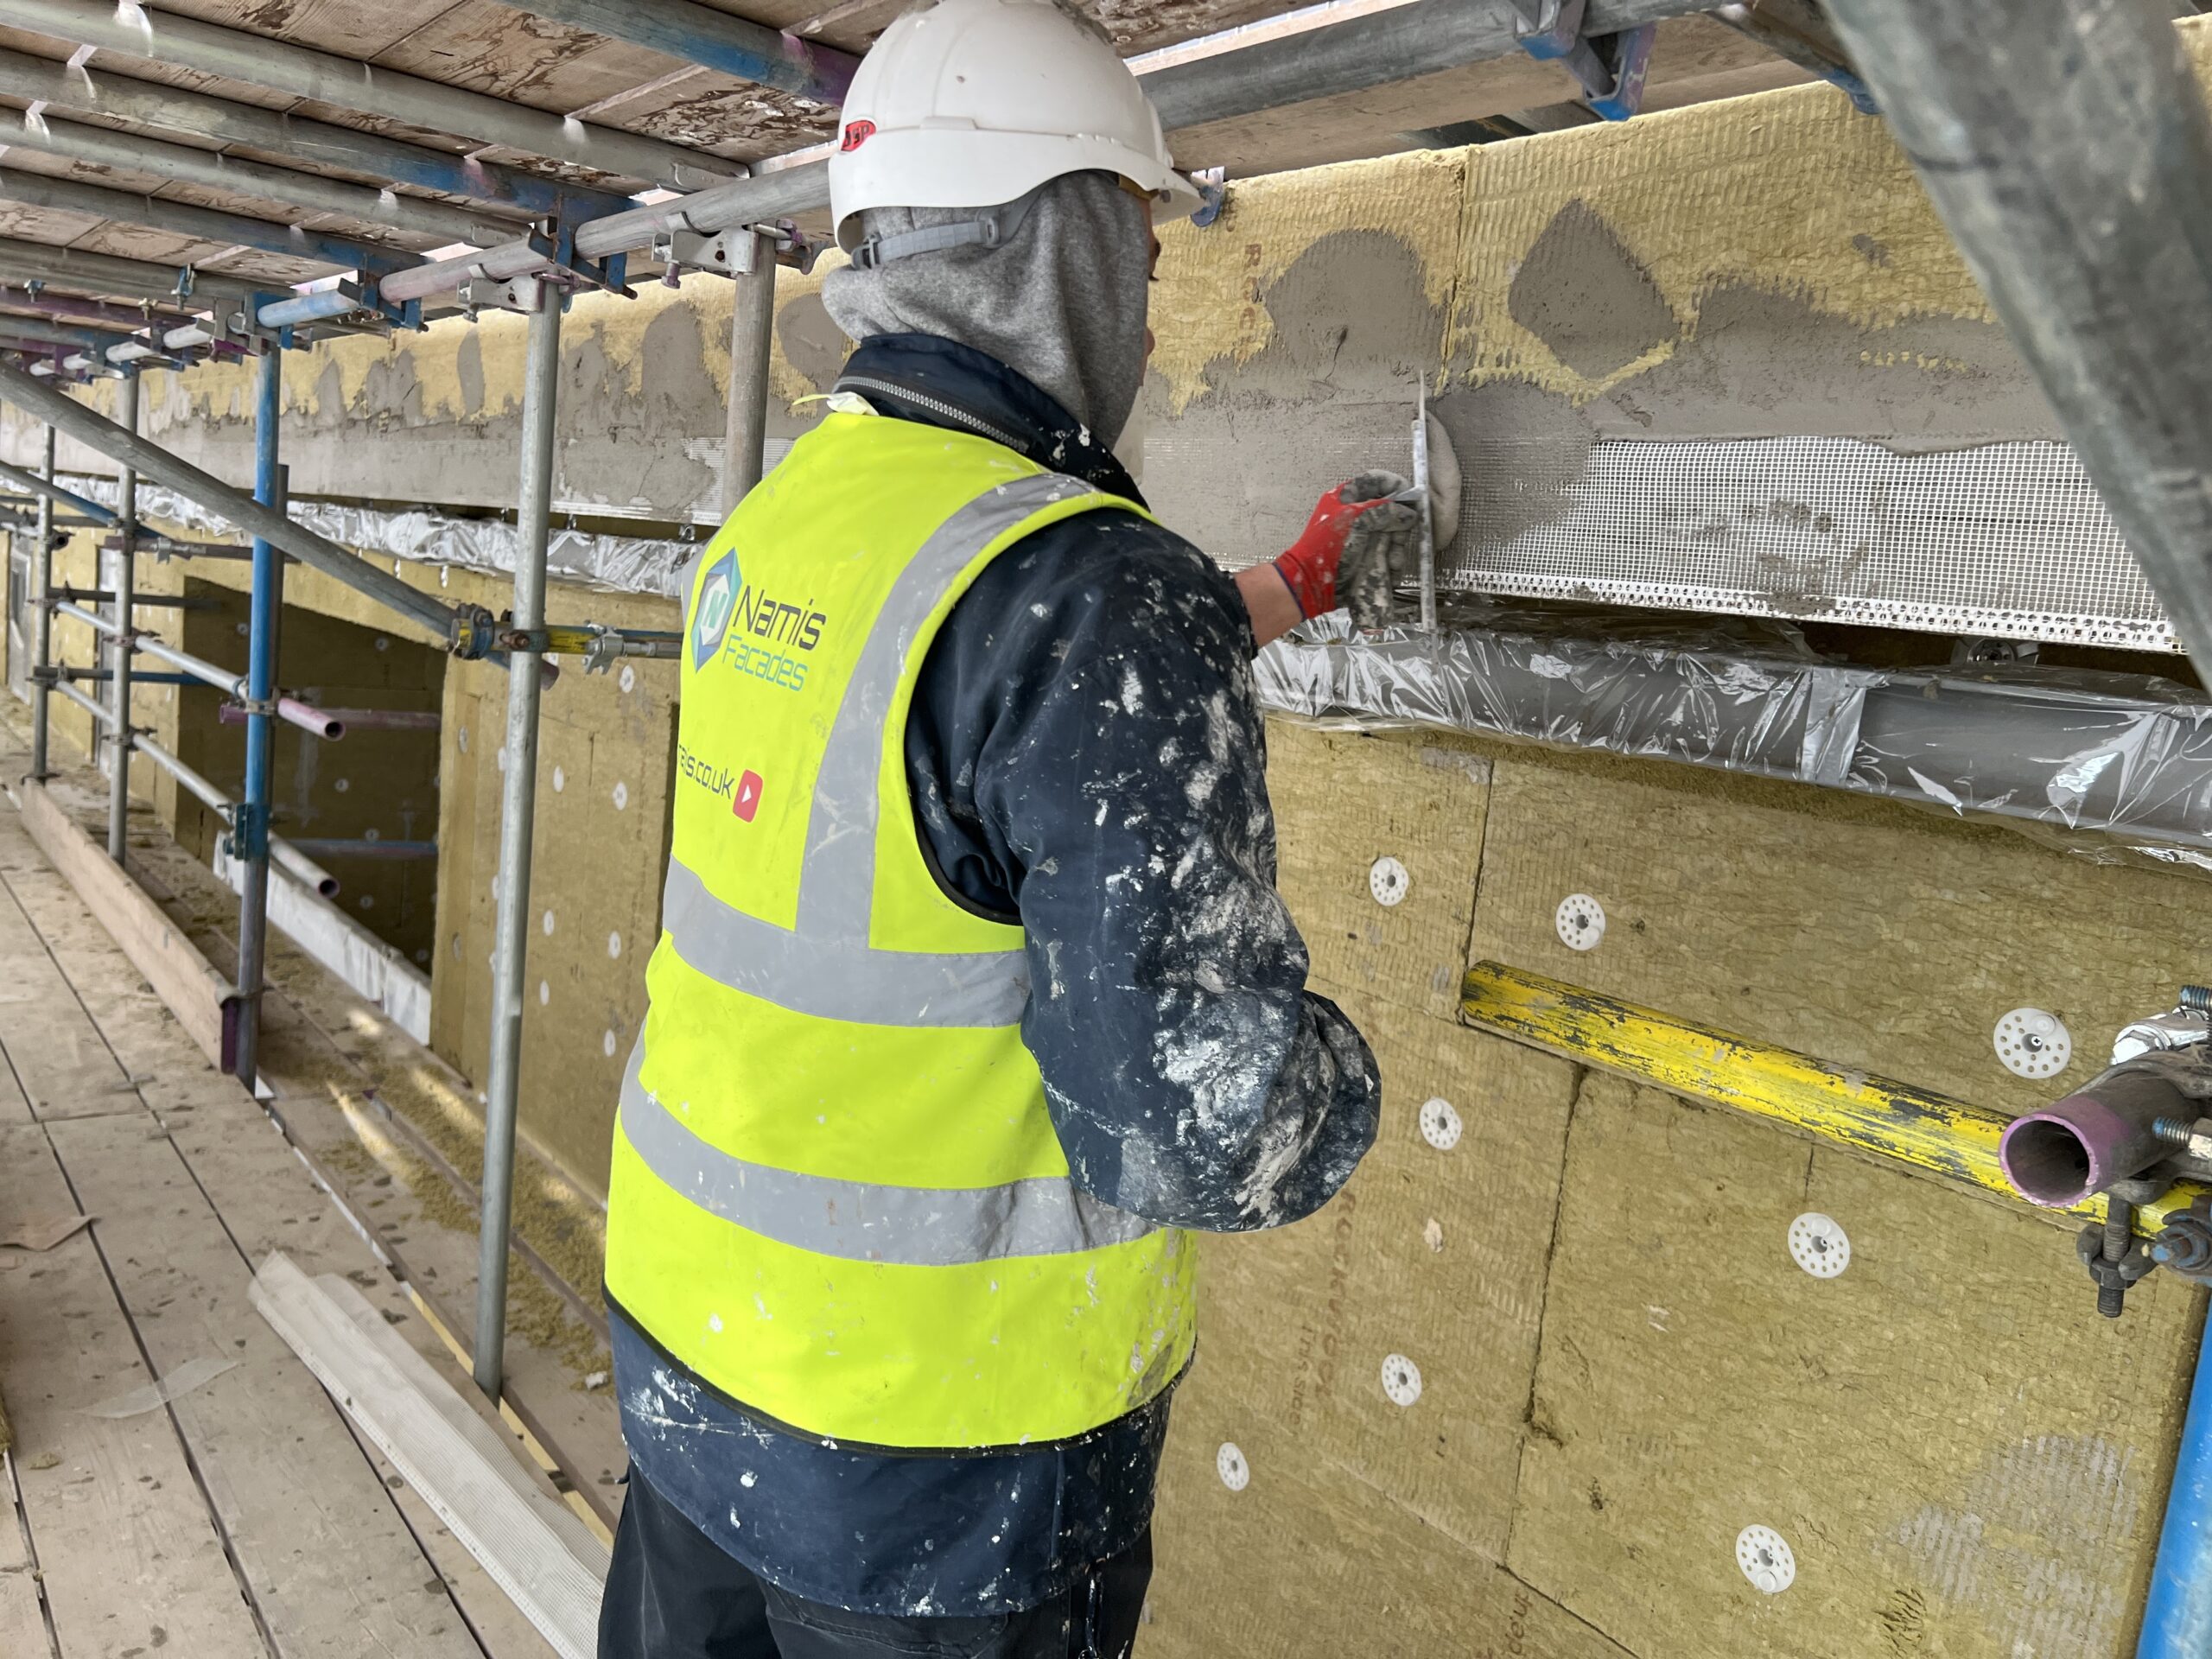
Once the insulation is up, we cover it with a special mesh. This helps make the whole system stronger and stops it from cracking. We stick this mesh on with a layer of render (a bit like cement).
We also add special beading around windows, doors, and corners. This helps protect these areas and makes sure everything looks neat and tidy. The beading also helps water drain away properly and stops cracks from forming in these important spots.
The mesh is usually made of fibreglass and is really important for making the EWI last a long time. It helps protect against bumps and spreads out any stress on the surface, which stops cracks and damage.
5. The Finishing Touch
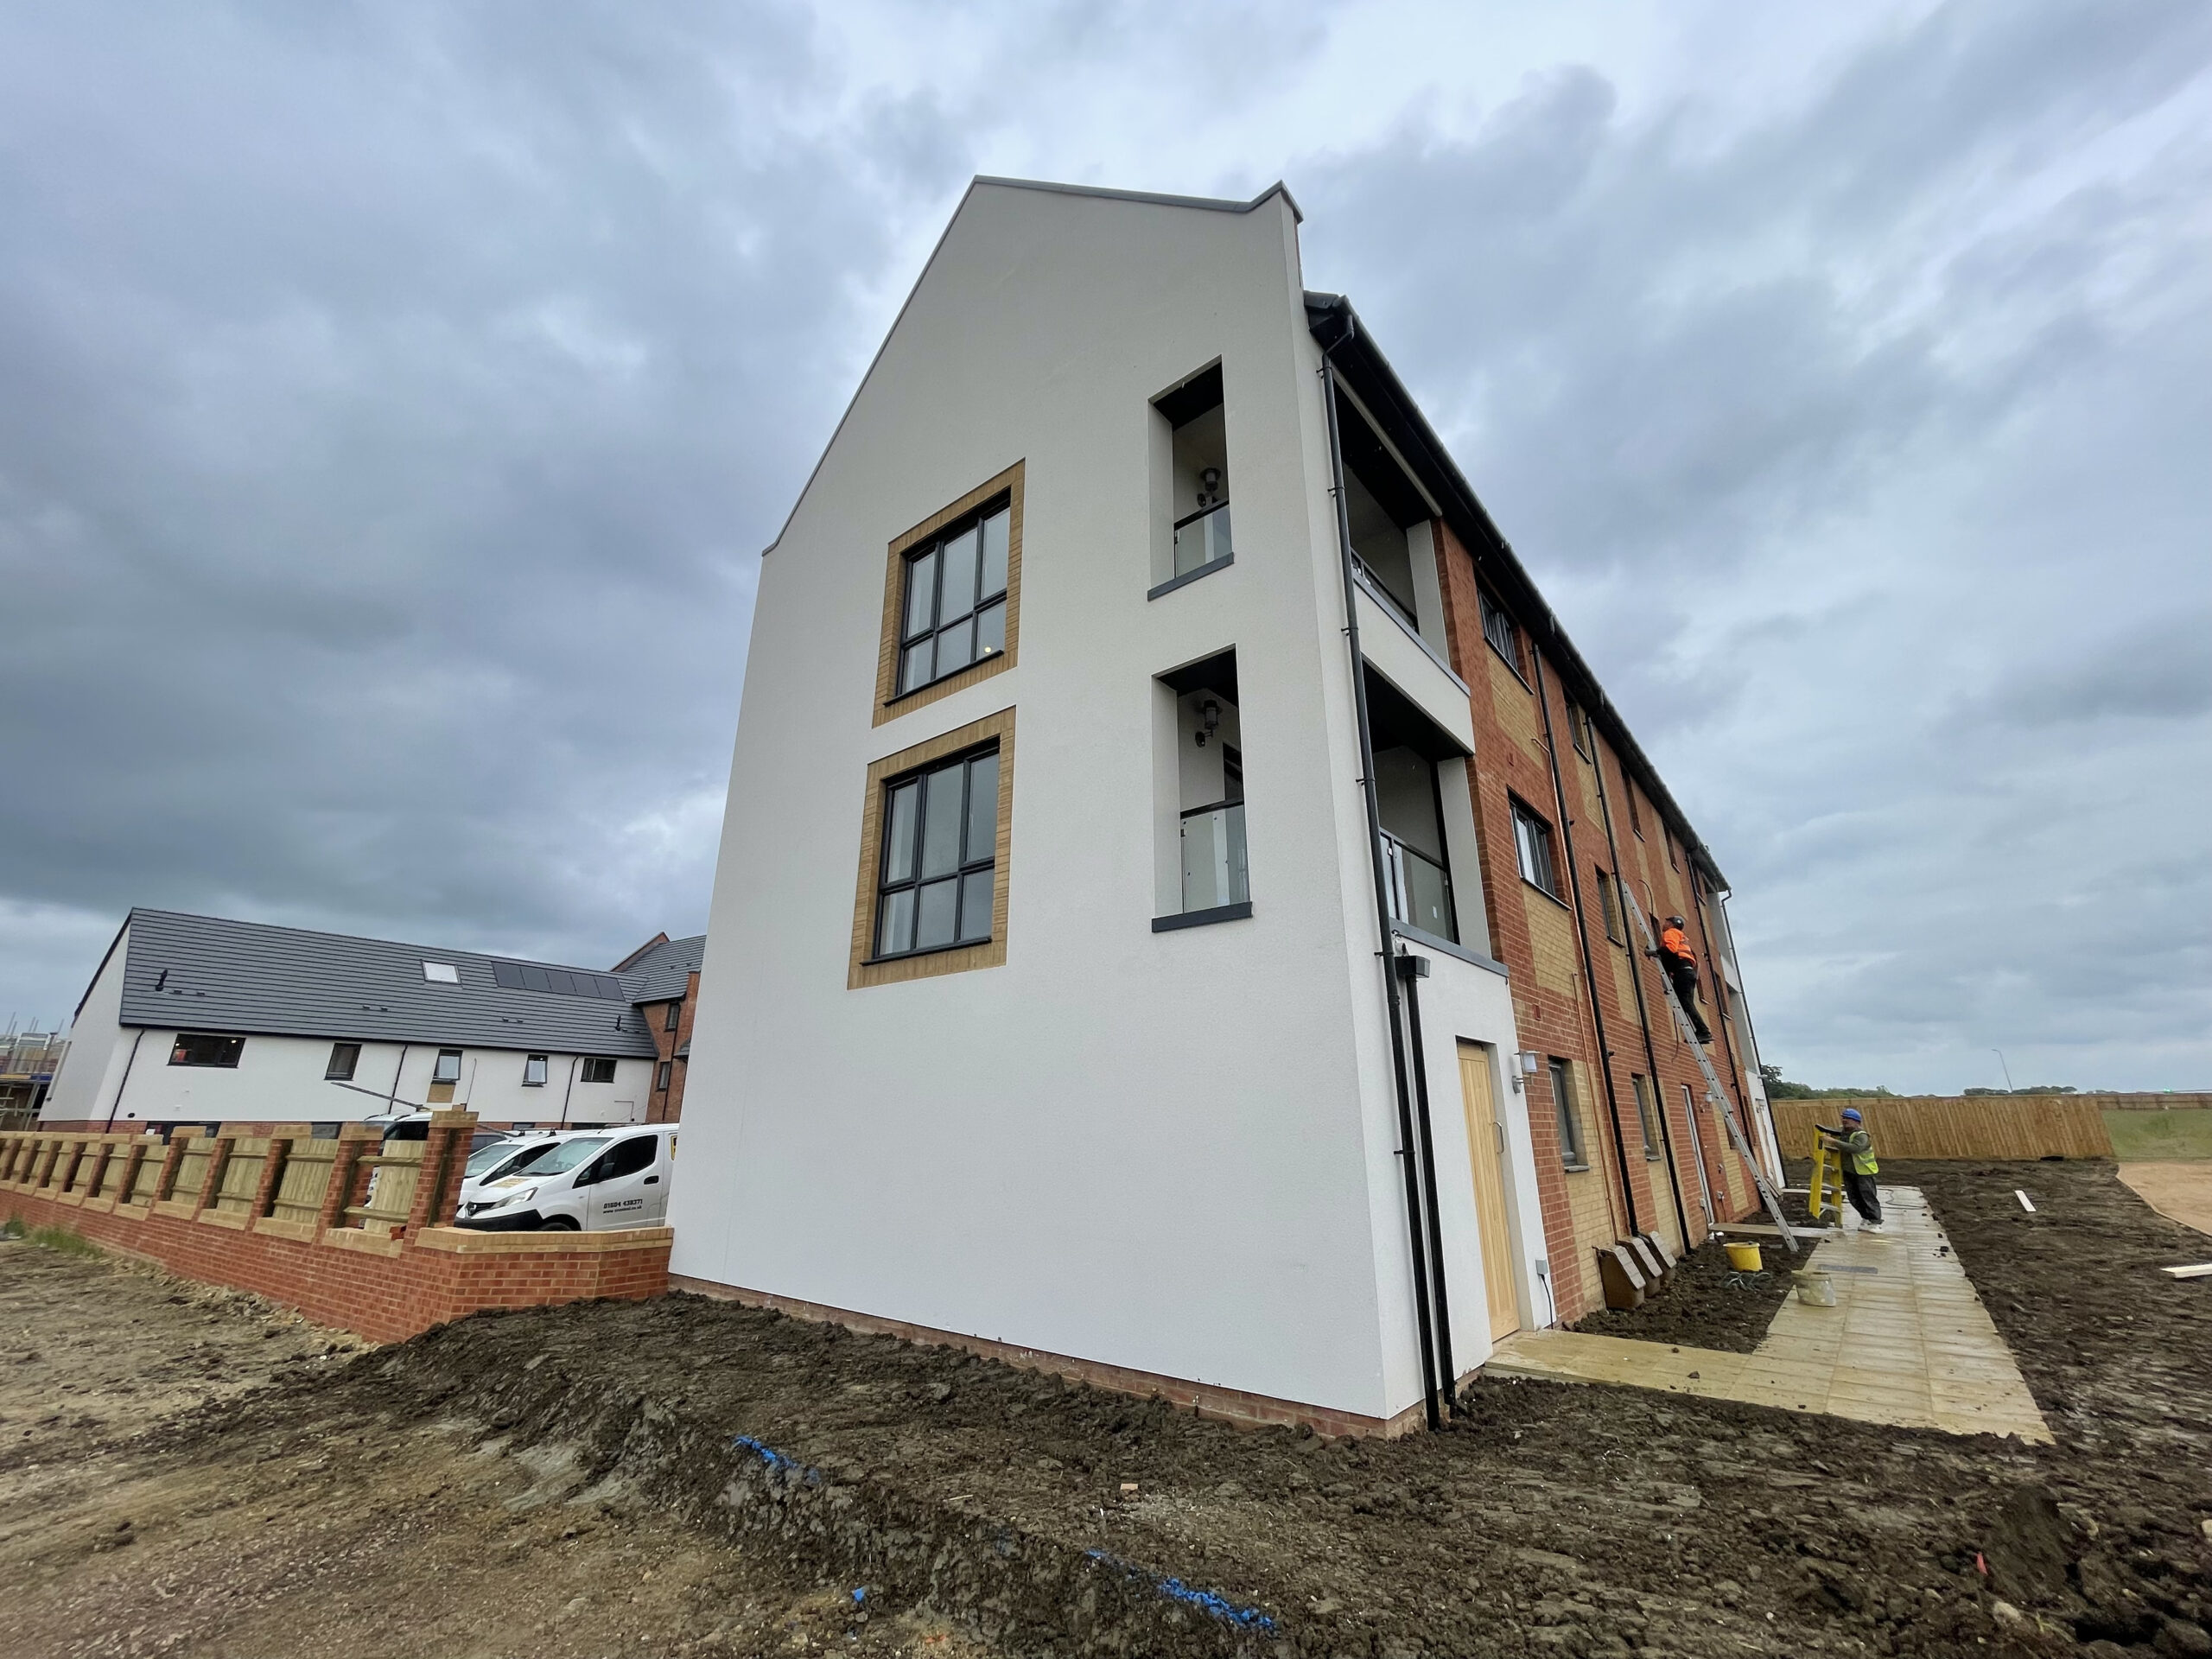
The last step is to add the final layer of render. This is what you’ll see from the outside, so you can choose what colour and texture you want. We can make it smooth, rough, or even make it look like brick or stone.

This final layer doesn’t just look good – it also helps protect your insulation from rain and damage. The render lets any moisture inside the wall escape while stopping water from outside getting in.
You can choose lots of different finishes to make your house look how you want. Some people like a smooth finish, while others prefer something that looks more like traditional building materials. You can choose almost any colour you like, so you can really change how your house looks if you want to.
6. After the Installation
Once we’re all done, your home will be much more energy-efficient. You might notice that it stays warmer in winter and cooler in summer. Your energy bills might go down too!
EWI doesn’t need much looking after. You might want to give it a clean every few years to keep it looking nice, but that’s about it. It’s a good idea to check it every now and then, especially after really bad weather, to make sure everything’s still okay.
If you see any cracks, chips, or places where the render seems to be coming away from the wall, it’s important to ask a professional for help. Fixing small problems quickly can stop bigger problems from happening later.
Conclusion
Installing EWI is a big job, but it can make a huge difference to your home. It can help you save energy, make your home quieter, reduce problems with damp, and even make your house worth more money. If it’s looked after properly, EWI can last for 25 years or more, so it’s a good long-term investment in making your home more comfortable and efficient.
If you’re thinking about getting EWI for your home, why not get in touch with us? We’d be happy to answer any questions and help you decide if EWI is right for you. We can take a good look at your house and suggest the best way to make it warmer and more efficient.
